A Greenhorn's Guide to Drawpile
Preamble
I’m an artist.
That fact might not be readily apparent from how little I actually draw and share my work, but I do occasionally dip my toe into it as a hobby, in addition to creating a lot of my game’s visual assets.
I also like playing other people’s games over the internet. Though I do tend to lean towards single player for the most part and lament the loss of games playable on the same sofa as your opponents, I can’t deny how entertaining online multiplayer can be. Even if the game is simplistic or bad, having other human beings to laugh and cry alongside you can make a world of difference.
So imagine the shocked expression on my face as one of my many Discord peers showed me an application that combines both of these interests together, whilst symultaniously being completely free, decentralised and open source?
Yeah, I couldn’t beleive it either, until I tried it for myself.
It’s called Drawpile, it’s amazing, and I’m going to teach you how you can experience it for yourself.
A Quick Warning
Before we begin, I should mention that whilst I’m going to using Drawpile in a savoury and civilised manner, that doesn’t mean everyone else will.
Content that could be considered NSFW is available through the program and while the dedicated servers I’ll be using in this guide require users to flag any such content ahead of time, it doesn’t appear to be fully enforced.
Proceed with caution when hosting and joining servers with people you don’t know in real life.
With that out of the way, let’s begin.
Introduction
Drawpile is a digital art application that allows for you and potentially dozens of other people to draw together on the same canvas over the internet.
If you ever stepped inside the Unovan Union Room circa 2011 and hit “draw”, it’s kind of like that, only with a lot more features, people and room to draw things.
As a standalone drawing application, it’s a little bit on the meagre side, with only the bare minimum number of tools needed to draw an image. It’s being connected to a server with a handful of other crazy people all creating, defacing and playing with each other’s drawings that it truly comes alive.
You can play pen-and-paper games with this thing. You can watch someone watch someone draw in real time, absorbing every detail of their technique. You can take pictures from your browser, paste them onto the page and take it in turns adding crossed eyes, arrows and funny mustaches to them.
It’s great.
Only problem is that despite my online aquaintance’s insistance to the contrary, it’s not entirely a cakewalk to set up. There are a lot of options and none of them really come with any explanations as to what they do. Whilst I was eventually able to muddle my way through the process, other people I’ve talked to haven’t been so successful.
The purpose of this guide is to teach you how to get up and running as quickly as possible, using the most straightforward methods I know.
Requirements
Before using Drawpile, you’re going to need a few things:
A Computer with an Internet Connection
If you’re reading this, then congratulations! You’ve already fulfilled this requirement.
A Drawpile Account
In order to use the dedicated Drawpile server, you’ll need an account with an associated e-mail address to confirm your identity. If you don’t already have one, you can register here.
Other People
This is always the sticking point for any kind of multiplayer anything.
I recommend finding between 2-4 other likeminded individuals, perhaps more, preferably with some kind of artistic ability; although you can still fun regardless. No matter who you go with, each of them will also need to have fulfilled the same requirements as you (having a computer, signing up etc.)
If you’re having trouble convincing your friends to join in, there’s plenty of public rooms available that you can jump straight into.
Not only that, there are untold thousands of internet forums elsewhere in all shapes and sizes full of people to nag at.
I myself got into it through the Pixel Art Official Discord server, and have had a blast playing with those folks, though your milage may vary.
The Drawpile Application Itself
You can download the latest version for your computer’s operating system and architecture here. This is likely going to be an installer and not a portable executable, so be sure to get that over and done with before continuing.
Some Kind of Drawing Tablet
This is optional, but unless your name is Mike Matei, you’re probably not going to want to use a mouse for intricate linework and the like, unless you happen to find that more comfortable.
Roles
Drawpile servers are split into rooms (think chat rooms).
There are two key roles when it comes to using Drawpile: the host is the one who creates and manages the room, and the joiners (clients) are the people who connect to the host’s room.
If you’re lucky, someone in your group will have already volunteered to be the host with an available room and you’ll be able to skip the next portion of this guide. Otherwise, you’re going to need to sort that out before going forward.
Hosting
So you’ve voluneered to be the host! Good for you. Being the host is a little more work than just following a link or code someone gave you, but it’ll be worth it when everyone else is up there drawing alongside you.
To create and host a room, open the Drawpile application:
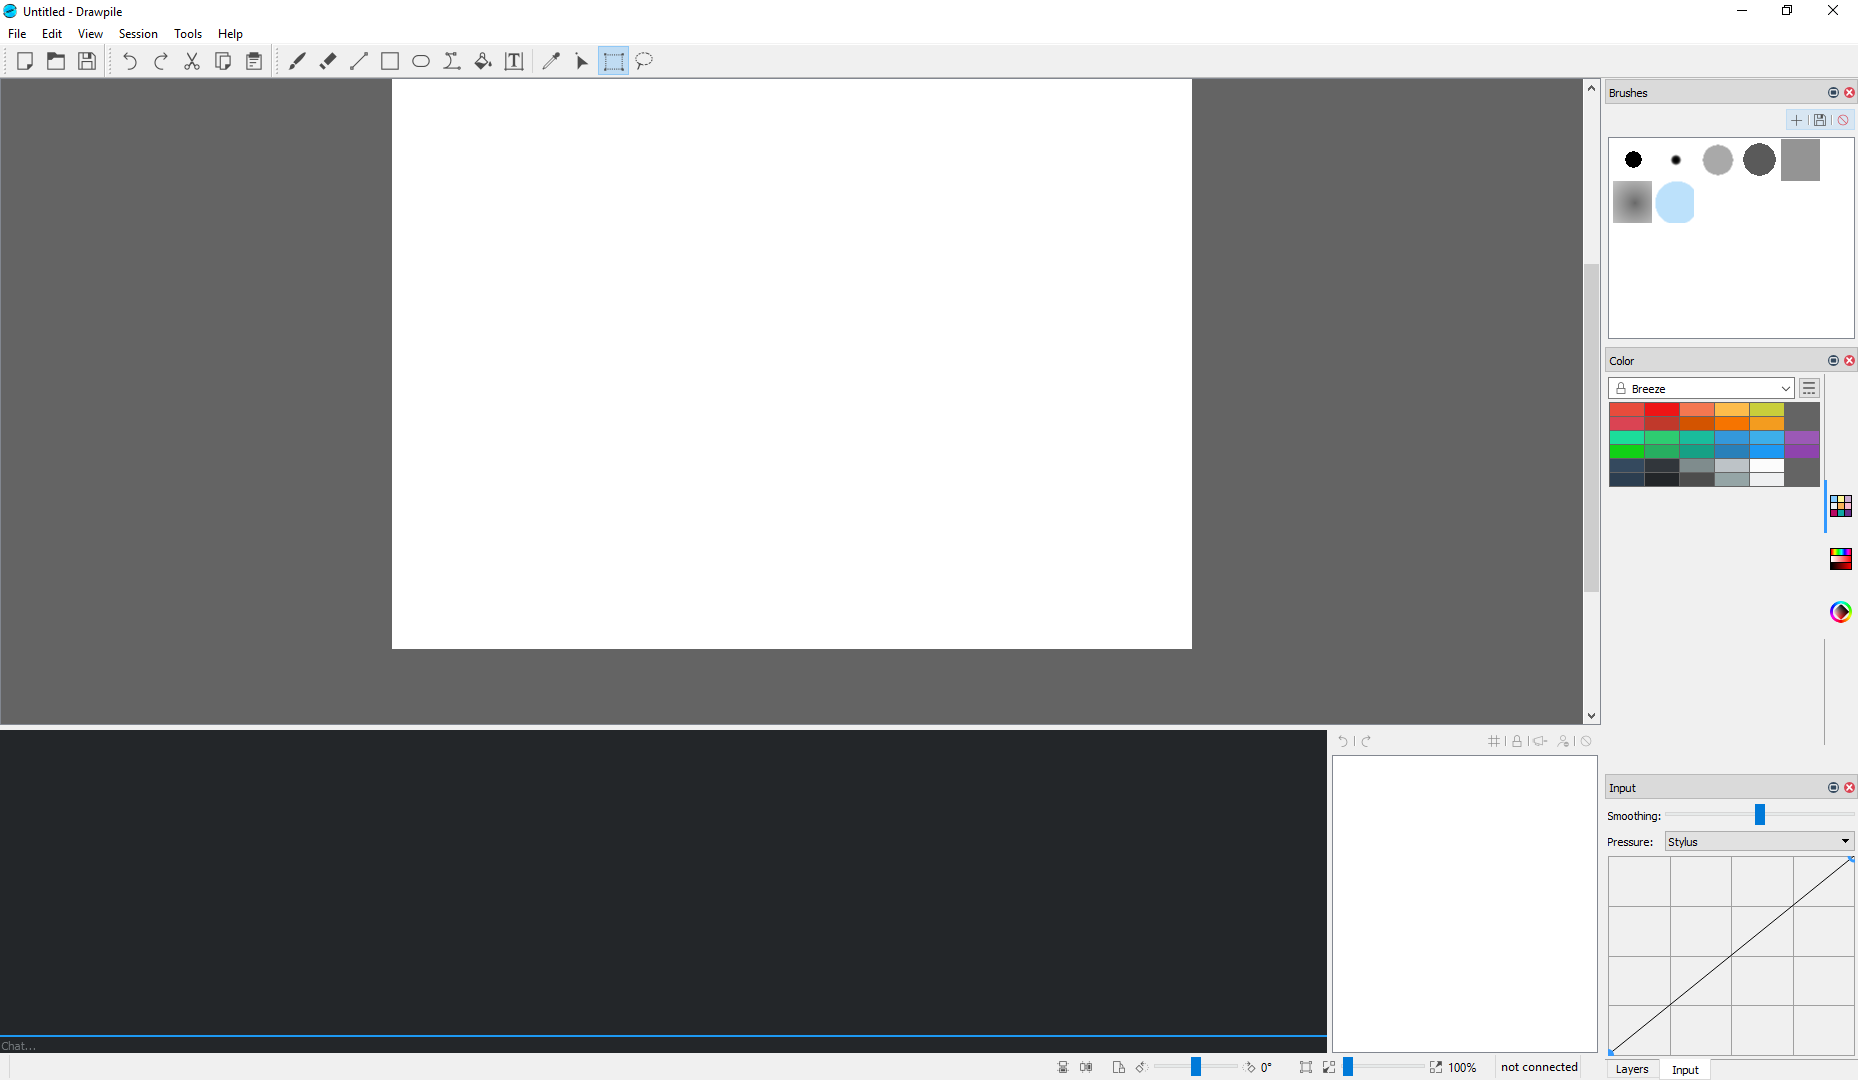
on the status bar, click the Session tab, and then Host...:

this should make the following window appear:
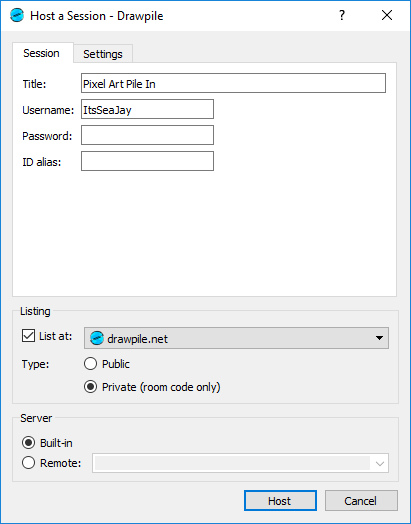
Let’s go over the options. As you can see, there is a box with two tabs in it.
The ones in the Session tab affect how the room is perceived by others
in both online listings and the application itself, whilst the Settings
lean towards moderation.
Start off by giving your room a title and entering your drawpile.net username.
You might next be tempted to type in the password to your
drawpile.net account password into the Password
field.
DON’T DO THIS!
That’s actually for a room password that can be used to limit access to your Drawpile session. If you enter something into this field, everyone who wants to join will need to have the password. By setting this to your account’s password, you’re effectively making it so only that the person who set up that Phishing scam you fell for the other week can join in, and really, who wants to invite them?
Make sure the room password is either blank (so no-one needs to type a password) or something long and memorable you can quickly tell to anyone who wants to join in.
Next, move over to the Listing box. The fields in there allow you to decide
where your room is advertised. You can turn this off, but that makes it a lot
harder for other people to join. Since you’ve most likely got a specific group
of people in mind, you’re probably not going to be happy when someone outside
of that group bursts in unnanounced with rushed scribbles in tow.
Ensure that drawpile.net is selected from the list of available options,
and then click Private (room code only). This will mean that Drawpile won’t
advertise your room on their website, but people who know about it already
will still be able to search for it via the room code (more on that later).
Move over to the server box. Most likely, this will have Built-in selected,
which means that Drawpile will attempt to create the room within a standalone
server application running on your computer, bypassing the dedicated servers
entirely and giving you much greater control in return for having to deal with
port forwarding, domain names and constantly shifting IP addresses.
We don’t want that.
Instead, select Remote :, and type drawpile.net in the text box as per
the instructions on the official room list, then
click Host.
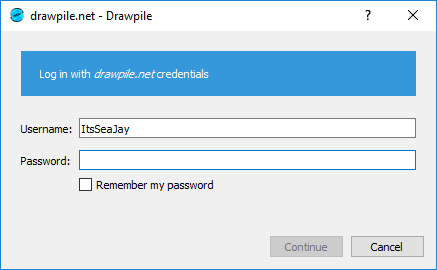
You’ll then be prompted for your account credentials. Enter those, then hit
Continue.
If you hear a bell chime, then congratulations! You’ve set up a room successfully! Give yourself a pat on the back, then cast your eyes to the bottom right of the screen:
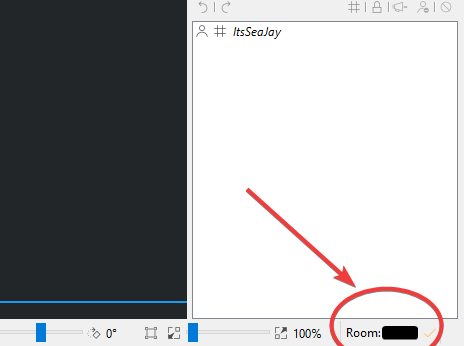
Next to the word Room, there’ll be a string of random characters. This is the
room code used for joining. Write this down, give it to your group,
and have fun drawing!
Joining
Thankfully, joining in a room is much simpler than hosting one.
To join a room, you’ll either need its room code, or a direct link. A room code is a random string of characters used as an alias to find rooms quickly. You’ll need to ask the host or someone who’s already in the room for this before going any further.
Once you have the code, open Drawpile, go to the status tab and click Join...:
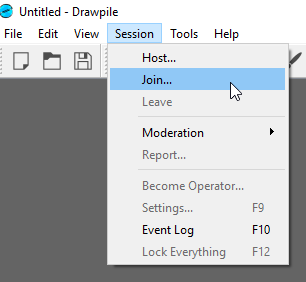
doing that should make this window appear:

Now either follow the instructions to type the room code into the box and hit
Join, followed by your account credentials, or click the Find... option and
search for it in the list. It should be noted that private rooms won’t appear
in the Find... window’s list.
You should then be authenticated and entered into the room. Congratulations!
Conclusion
Hopefully you found this guide to Drawpile useful. It really is a neat program that I hope to see get more exposure in the future. Though I’ve used other applications with similar functionality to Drawpile, I don’t think I’ve come across one with the same quality and stability.
A big thank you to everyone who helped me along the way, especially those on the previously mentioned Pixel Art Official Discord server. You guys rock!